Worms are usually a delightful sight to see in a garden, but if you spot something wriggling in the soil of a houseplant, not so much.
A worm working outside has loads of benefits to offer, including soil aeration and nutrients, but when it’s left to live inside of a pot plant, it will ultimately end up eating the roots.
Although worms might look the same on first inspection and you might pass it off as the common earthworm, there are more than a few different types of worm it can be.
Whatever category they fall into, they should be removed as soon as possible so your plant can continue thriving in a worm-free habitat.
So, how do you get rid of worms in potted plants?
There is a step-by-step process to take, including inspecting the soil, removing worms, repotting the plant in fresh soil, and cleaning the pot. With all of these steps followed, you’ll make sure there are no future outbreaks of worms in your house.
Learning how to get rid of worms in potted plants is a valuable tool, as it’s likely there’ll be more in your gardening future.
Although these wriggly friends are usually welcomed in the garden, it’s not the same case in a potted plant, so a simple transplant of them outside will do the trick.
Table of Contents
Why Are There Worms in There?
The most common method for a worm finding its way into a potted plant is coming up through the drainage holes that are usually found on most pots.
Whether you had the plant outside at one point or took it out for a good soaking, a worm might have crawled up during this point.
Another way for worms to appear almost overnight is through the potting mix, although this is less common.
Depending on where you sourced it from, you might have collected some worms in the process and they now reside inside of their new potted home.
There are lots of types of worms you might encounter in a potted plant, and although they vary in their benefits and disadvantages, it’s a good idea to have them removed.
You might first want to identify the type of worms you have so you can figure out how they got here, with these being the most common types:
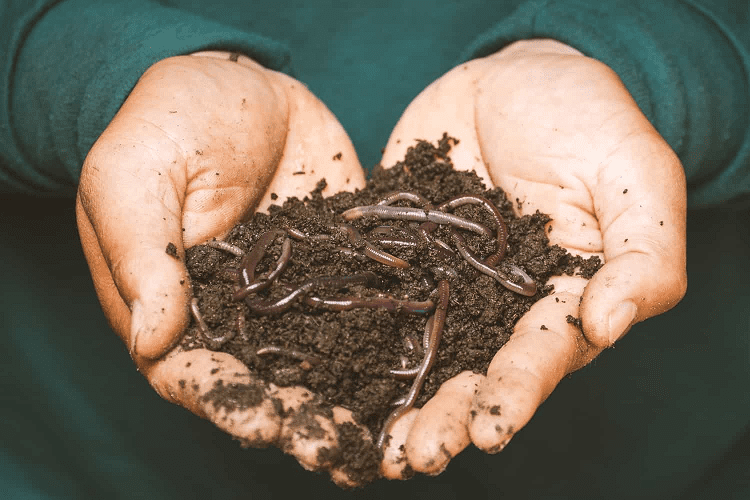
- Earthworm: The common earthworm is ideal for outdoor gardens but not ideal in a single potted plant.
- Potworms: Small, white worms that are good for the soil but can quickly overpopulate and cause problems.
- Red wigglers: A variety of earthworms that love the garden and provide good aeration and nutrients but will overpopulate quickly in a small pot.
- Grub worms: Dangerous larvae stage worms that are no good in any garden or pot and need to be removed immediately.
Do You Need to Worry About Worms in Plant Pots?

When people spot worms in their pot plants they probably don’t see an issue with it, as the worm is known as a long-time friend to the gardener.
However, in the confined space of a potted plant, their benefits aren’t available in the same way, so it’s best to take efforts to remove them.
Any worms that are located in the soil of a single potted plant will only be able to help if there are decaying plant materials available.
Worms eat these and then their casings are fed back to the soil as nutrients, but finding enough of this decayed matter is hard to do.
When a worm can’t find decaying matter, they have no choice but to look elsewhere for food, which usually means the roots, both living and dead.
When they eat away at these parts, the roots won’t be able to grow and the plant will be negatively impacted, especially if there are more than a few worms in there.
How to Get Rid of Worms in Potted Plants

If you want to say goodbye to the worms living in your potted plants, it’s easy enough to do, and without causing them any harm.
Follow this step-by-step guide for how to get rid of worms in potted plants and reclaim the soil once again.
- Have a look at all of the plants in your house or outdoors to see which pots have worms. You might be able to see them in the soil, on leaves, or even a little bit underneath the soil by looking through the drainage holes. If you can’t see any, hold off until dusk when they’re more likely to appear.
- Separate the houseplants that have worms in them to a room away from the other plants to avoid the infestation spreading, and plan to keep them there for a few weeks. This is a good rule to follow when bringing newly potted plants into the house as well, just in case they come with pests or diseases that can’t be seen at first.
- Grab each of the worms off individually and collect them in a container or bucket. You can use tweezers or your hands if you’re not squeamish. Look through the soil as best you can to remove any from there.
- Release the good worms to the outdoors in your compost pile, flower bed, or vegetable garden so they can do their good work. If you suspect sinister worms like leafminer larvae or cutworms, eradicate them immediately.
- Fill up a bucket or bathtub with cold water so that you’ll be able to fit the pot inside of it. Put the pot into the container so the soil is completely saturated. This will drive earthworms out of the soil so you can collect them and put them outside in the garden.
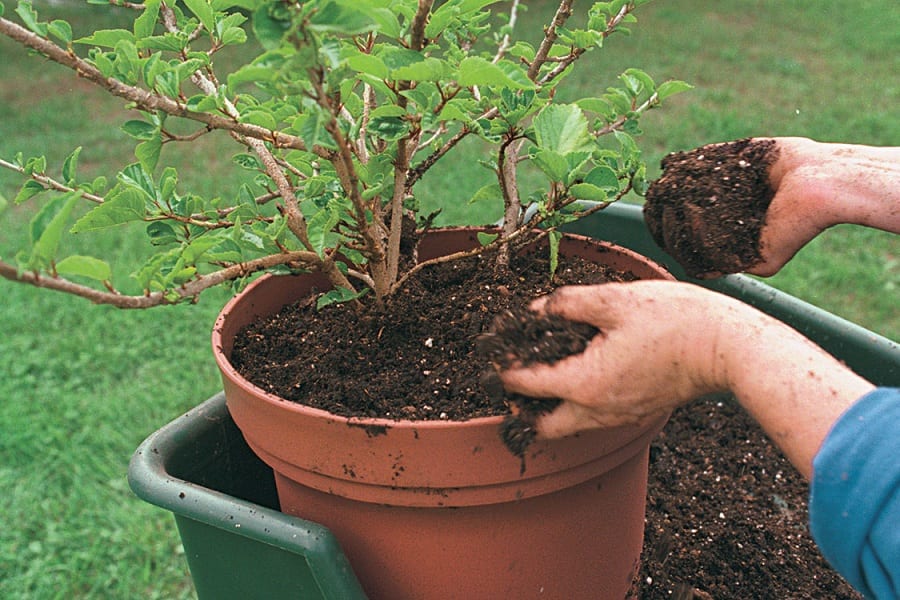
- Clean out the pot, throw away the potting soil, and then sterilizer the pot with a 10/90 bleach to water solution and dry it off. Use fresh potting soil to refill it and shake excess soil from the rootball of your plant before repotting it.
Say Goodbye to Indoor Worms

Worms are great in the garden but their benefits remain there, so it’s not a friend you want to keep around in a single potted plant.
If you’ve been experiencing visitors in plants that you keep indoors, the solution can be a lengthy process, but it should get the problem solved without doing any harm to the worms themselves.
If you have an outdoor garden or compost system, you can transfer the worms out there, or let them find a new home outside in the earth.
This way, the worms will be able to do what they do best, and you can use the compost as a fertilizer for your indoor plants so you’re still able to benefit from them.
With a regular inspection of your plants not only will you keep worms at bay, but you’ll be on top of any other problems that arise before they get out of hand.
This kind of forward-thinking is what an expert gardener would do and ensures your plants are always at their healthiest and happiest.
Related Questions
There are worse things than worms to discover in your potted plants, but it can still be an annoying process trying to remove them.
If you’re facing worms or some other kind of creepy-crawly in your potted plants, check out the answers to these commonly asked questions that might be able to shed some light on the problem.
Mushrooms grow in potted plants because of the presence of fungi, which could have come from a potting mix or soil.
Even if they’re unsightly or dangerous when ingested, mushroom growth in your potted plants isn’t all bad as they can increase the quality of the soil and provide nutrients to the plant.
There are lots of types of bugs that live in indoor plants but the most common small, flying insect you’ll spot is a fungus gnat.
These gnats usually arrive when the soil is too moist so it’s important to let it dry out in between watering. They won’t cause any harm to the soil or people in your home but they should be eradicated where possible.
Mold grows on indoor plants where the soil has been previously contaminated or is too moist and doesn’t get a chance to dry out.
If you spot soil on your plants or their surrounding soil, it’s best to replant them in fresh soil and clean their pot or container thoroughly to prevent it from spreading further.
Recourses:

