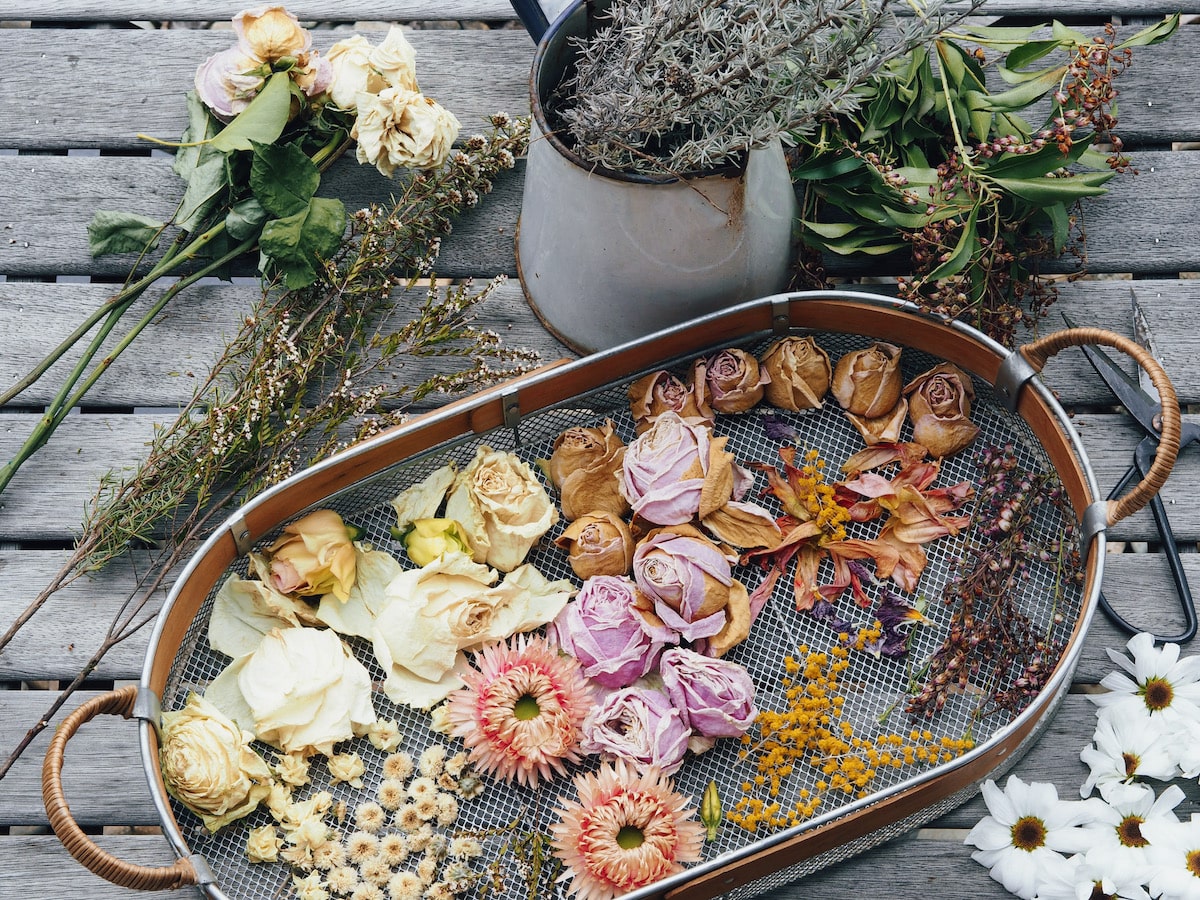
Have you ever looked at a flower and thought about preserving its structure and beauty forever?
Some flowers are just special. Maybe they are from your first-ever date at the local eatery. Or they are perhaps associated with a secret memory you do not wish to share with anyone. Flowers can also commemorate the life and death of people you love. And this is what makes them so special, almost sacred.
There are ways to preserve and dry flowers so they can be kept as a keepsake forever. Whenever you feel like reviving a sweet memory, these preserved beauties will help you heal the pain and re-live the moment.
Flowers need water to remain fresh and alive, but if you want to preserve them, you have to dry them through different techniques depending on the texture and types of flowers. Drying flowers is a popular option for extending their structural life, and we have summed up several easy methods to teach you how to properly dry and preserve flowers.
Table of Contents
Pre-requisites For The Preparation of The Flowers
- Always choose fresh flowers
- Don’t use flowers with bruises or brown spots
- Don’t choose flowers with fleshy or water-rich petrels.
- Remove petals from thick flowers before drying, e.g., Roses, peonies & ranunculus, etc.
- Remove any extra foliage and cut the stems to the length you desire.
Methods of Drying Flowers:
1. Flash Drying
2. The Indolent Way
3. Pressing
4. Air Drying
5. Preserving in Silica Gel (with or without a microwave)
6. Dip in Wax Method
Flash Drying:
This method is perfect for large flowers like Hydrangeas; it is a faster drying method.
Pluck the flowers you wish to dry and then throw them in the trunk of your car. Just make sure that your car is parked in the sun for at least 24 hours.
You could also lay them out on the patio on a lazy Sunday afternoon. Once they are all dried up, the petals give the sound and feel of a crinkling tissue paper upon rubbing them.
The Indolent Way:
If you’re a lazy bum finding an easy way to preserve flowers, then try the Indolent Method.
This is an effortless way of drying flowers.
All you need is water, a vase, and flower stems.
Fill a vase with a few inches of water and place the stalks in it. When the entire body of water evaporates from the vase, the flowers will dry and become upright and perky.
Hydrangeas and Baby’s breath are good choices for this method because of their rigid, thick stems. Other flowers with thin stems will droop easily.
The vase can act as a table decoration, or you can tie a ribbon around the stems and hang them on the wall.
The Pressing Method
This method is the simplest but most time-consuming.
It involves very little effort, and the results are amazing!
Take an encyclopedia or any heavy book. Line a page with parchment or wax paper.
Arrange flowers face down so they don’t overlap, then close the book and leave them untouched for 7 to 10 days.
You can add a heavy item such as a paperweight to apply pressure on the book.
When all the moisture has dispersed, the flowers will express a papery texture.
These pretty pressed flowers can then be used as a stationery bookmark. You can also display it as a picture frame to add to your wall art.
Air Drying
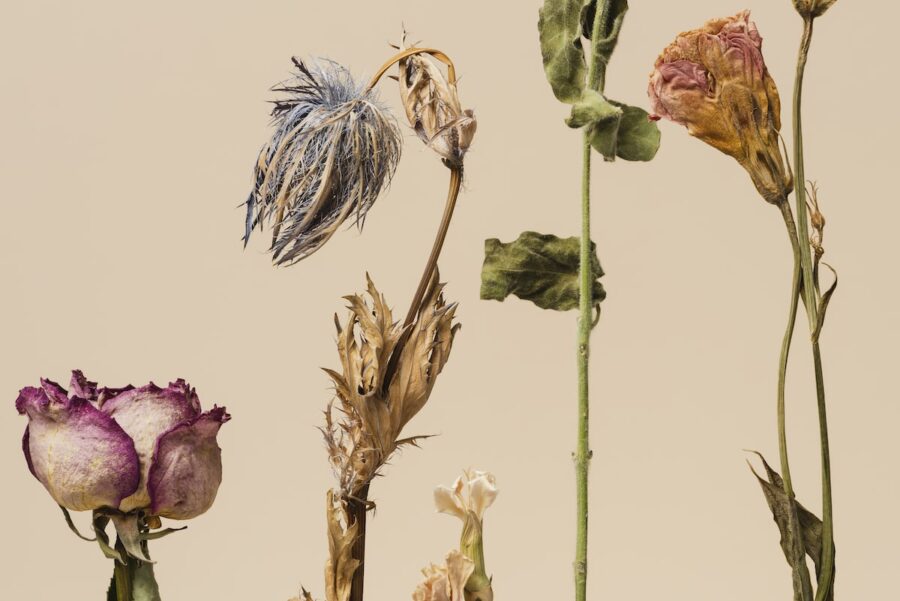
Air Drying is one of the oldest, easiest, and most common methods.
Gather your flowers in small bunches in the morning when the dew has dried off. Make sure the flowers you choose to preserve are fresh.
Secure the stems by tying a piece of string or rubber band around the base of the stems; this is done to prevent the stems from crumbling when they dry.
Tie the other end of your string to a stick or hanger.
Now hang the stick in such a location that would avoid interruption of the drying process.
The drying flowers are to receive minimal light; direct sunlight will cause the vibrancy and colors of the flowers to dim.
In three to four weeks, the blooms are will become completely dehydrated. Spray them with unscented hair spray that will act as a sealant.
Preserving In Silica Gel
Method Without Microwave:
Silica is a sandy-like substance and it works best with flowers like zinnias or roses.
Take a large container of silica gel and bury your blooms in it. A
After a few days or a week, gently uncover your preserved flowers and you’d be surprised to see that they look just as fresh as they did in your garden.
Method With Microwave
This is the quickest method to preserve flowers and has the added benefit of producing the most aesthetic-looking blooms that retain their color. No one would be able to tell them apart from fresh flowers!
You can easily find silica gel at any craft or general store.
The purpose of silica gel is to preserve the shape of the flowers so that they can be used over and over again.
It is important to note that this drying agent can cause irritation to the skin and lung lining if inhaled. Wear a mask and gloves before proceeding, and don’t use dishes you’d use for cooking and eating.
Any container or dish used for drying flowers with silica should be disposed off for health and safety purposes.
Take a large container and fill it with silica gel, then bury your blooms into it.
Pour more gel gently over the petals using your hands. Place the uncovered container in the microwave.
Time and temperature vary according to the type of flower; for example, Roses can withstand more heat while daisies require lower temperatures.
Once flowers are completely dried, open the microwave and immediately cover the container. Open the container a quarter of an inch and let it stand for 24 hrs. Take a fine-tip brush, clean the gel from the petals, and then mist it with an acrylic spray and get perfect dried flowers with vibrance.
Dip in Wax
Dipping in Wax is the most difficult way to preserve flowers.
Most commonly paraffin wax is used, but soy wax is a more popular and recommended option as it is eco-friendly.
Soy wax is also easier to find in stores. It has a lower melting point and cleans up easily with just soap and water. Moreover, it can be melted in the microwave.
Take the roses when they are in full bloom and reaching the end of their shelf life. Cut the stems of roses about 8-10 inches long so that it is easy to dip them in the wax.
Place scrap paper under the bottles to catch dripping wax.
Fill the microwaveable container with the wax flakes and microwave it for 2 minutes. Take it out and stir it with a plastic spoon for any un-melted wax.
If needed, add more flakes and return the container to the microwave.
The wax should be at 100 degrees when checked with a candy thermometer.
When all the wax is melted, place the wax container on a protected surface. Then wait for a minute or two and start dipping the heads of stems into the wax.
Finally, put them into your bottle or vase for cooling.
Dipped roses can be placed on wax paper for cooling, but they will keep their shape better if cooled in an upright position.
Later, cut off the stems for different arrangements. Cover the wax container to use again when dipping is done.
Ask Away: The FAQ Section
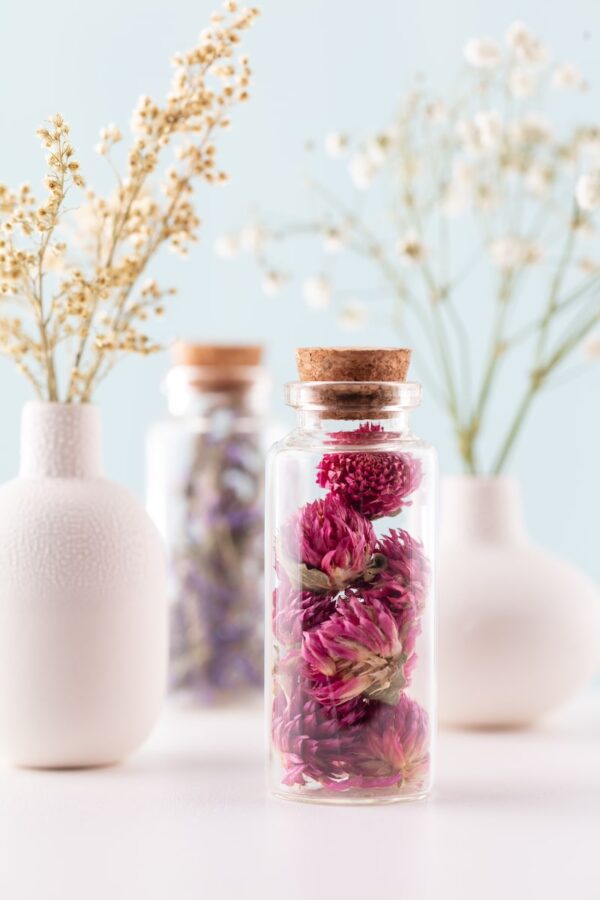
There is a probability of dry flowers developing molds if they are exposed to humid or wet conditions. Therefore, it is always advised to keep them in a dry, cool environment.
Insects and moths are attracted to dried flowers because they act as a source of nutrition for them, therefore, the use of insecticide spray is advised periodically.
Yes, the color of the dried flowers will fade even if the resin remains the same. This is because of the exposure to sunlight over the years which is responsible for fading the color of the flowers.
Nothing lasts forever, so yes, even dried flowers have a life depending on the method used to dry them or preserve them. In general, they last exponentially longer than fresh flowers.

