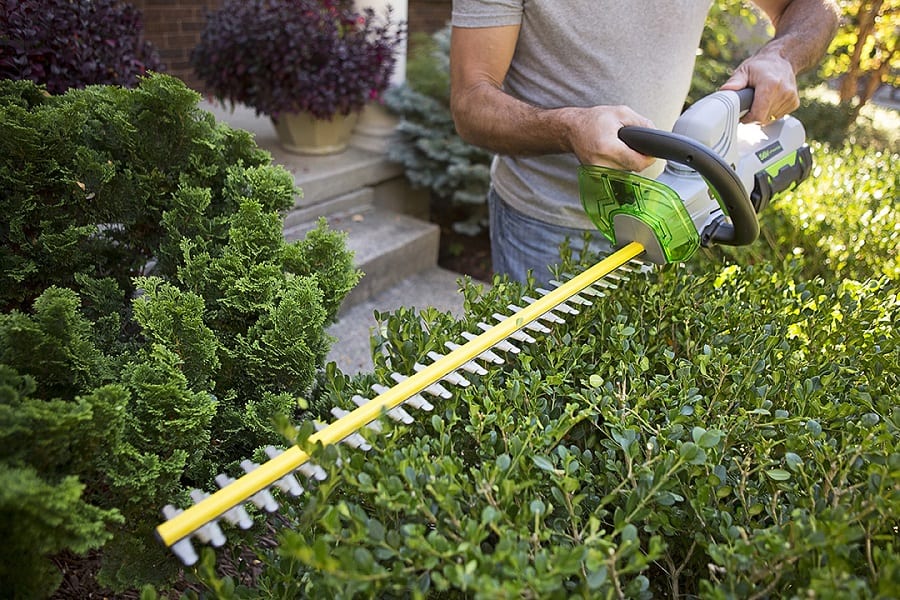
When you want to tidy up the hedges in your garden, reaching for your trusty hedge trimmer will help you complete your gardening task quickly and efficiently.
But maybe you’ve reached for your trimmers in your shed only to discover that they’re blunt and you can’t use them.
What causes your hedge trimmer to become blunt?
The main reason why your hedge trimmers are dull is because you’ve been using them a lot. So don’t worry, you haven’t done anything to cause a major problem!
Hedge trimmer blades will become blunt with use. The more you use them, the sooner you’ll have to sharpen them.
However, that doesn’t have to be something you call the pros for help with – here are easy ways to sharpen hedge trimmer blades so you can continue perfecting your hedges with ease.
Table of Contents
How Can You Tell That Your Hedge Trimmers Need Sharpening?
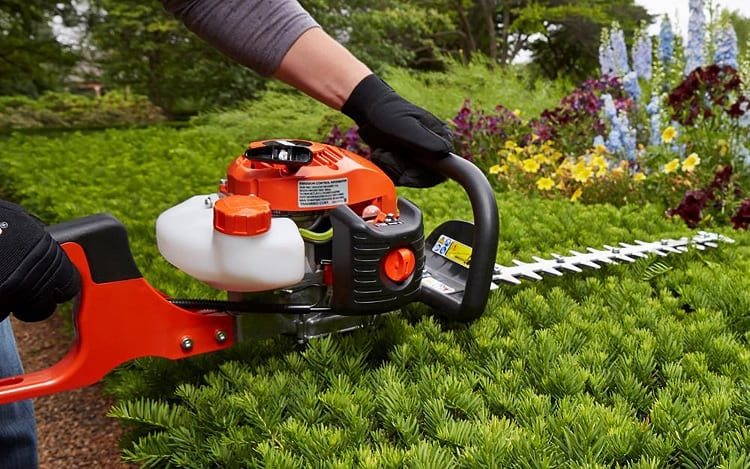
Yes, you’ve been using your hedge trimmers a lot lately. But are you sure they need to be sharpened and aren’t broken?
There is a clear sign that your hedge trimmers need to be sharpened so that they can perform at their best: they are leaving frayed edges on branches.
When you try to cut a branch and your hedge trimmer doesn’t produce a clean cut, even though the branch thickness is what the hedge trimmer can handle, then this is a clear sign you need to sharpen its blades.
If that’s happening to you, then you need to stop trimming hedges and start sharpening those blades. It’s really easy and you don’t have to have any experience with it. Here’s your ultimate guide to sharpening your hedge trimmer blades.
How To Sharpen A Hedge Trimmer In Eight Easy Steps
Items that you’ll need
- Flat file
- Gloves
- Protective eye glasses
- Whetstone
Instructions
- Before you begin to sharpen the hedge trimmer, make sure it’s on a flat surface, such as a sturdy work table. It’s best to keep the trimmer still and move around it when sharpening the blades as this will be safer and easier than moving the hedge trimmer around.
- Put on your safety gear! Although your trimmer’s blades are dull, they can still cut you, and you don’t want to risk that. So, make sure you wear gloves and protective goggles to prevent any foreign materials from getting into your eyes.
- The first tool you need to sharpen a hedge trimmer with is a flat file. This should be filed towards the cutting edge of the trimmer’s blade in order to sharpen it well.
- You want to use the file down the blade, then lift it off the blade when you move it back. If you file up and down all along the blade, this can actually cause the blade to become blunt!
- When you sharpen a hedge trimmer, pay attention to how many strokes you’re making on each cutting edge so that you keep them equal. This is important to ensure that they will be the same length.
- You should never file down more than 5mm on your blade as this could cause the blade to become damaged, so make sure you stick to that limit.
- Now, for the next step you will need to use whetstone so that you can smooth away burrs that might show up on the blades because you have filed them.
- To use the whetstone, you want to turn the trimmer over to give you a clear view of the back of its blades. Make sure you move the whetstone all along the blades in a gentle sweeping movement. Move in the direction of the blades’ tip and concentrate on smoothing down any rough spots that you find along the way.
How Do You Know When Your Hedge Trimmer Blades Are Sharp Enough?
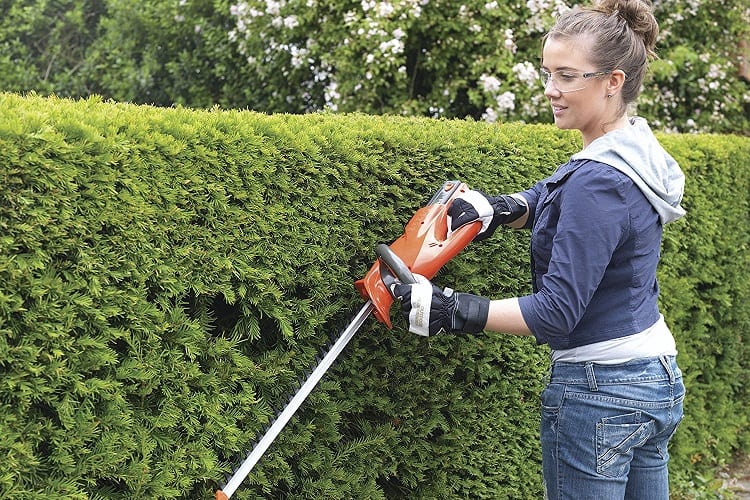
Obviously, you could test your hedge trimmer on branches you need to cut, but an easier way to test your hedge trimmer blades immediately after you have sharpened them is with the use of an A4 sheet of paper.
Set the paper above the trimmer’s blade. Bring the paper down across the blade. If you feel that the paper was not easily cut, you should repeat the steps we’ve outlined to sharpen the blades before trying them out on another sheet of paper.
Should You Take Apart The Blades Of Your Hedge Trimmer To Sharpen Them?
It might be easier to remove the hedge trimmer’s blades before you try to sharpen them. If they are connected by bolts, you could remove the bolts to free the blades.
But always make sure you clamp each blade one at a time with the use of a bench vice to make the process easier and prevent yourself from getting injured.
Can You Use A Power Grinder To Sharpen Hedge Trimmer Blades?
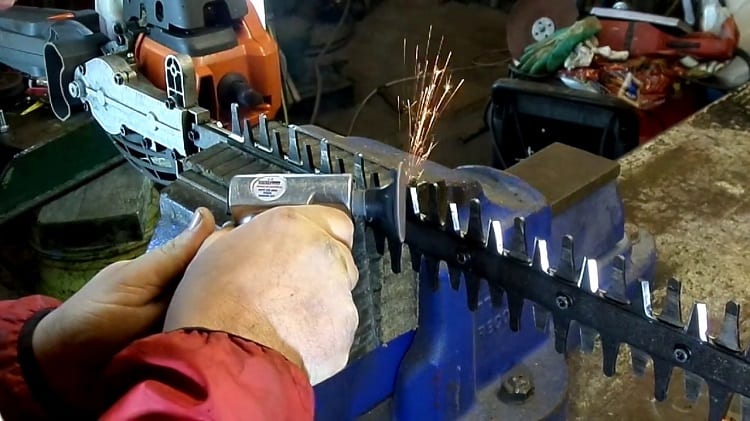
Now, if you don’t have a file handy or you just want to use a power tool for the sharpening process, you might wonder if you’ll be able to use a power grinder on your hedge trimmer’s blades.
The good news is you can, and if you’re experienced with using your power grinder you’ll make short work of sharpening your hedge trimmer with it.
If you’re not experienced with using this tool, then it’s best not to sharpen your hedge trimmer with it because otherwise you risk cutting off too much of the blade, which can damage your hedge trimmer or significantly reduce its lifespan.
Here’s how to sharpen your hedge trimmer with a power grinder:
- Make sure you wear protective gear such as eye goggles to protect your eyes and gloves to protect your hands.
- Choose 60 or 80 grit for your power grinder so that you’ll sharpen the hedge trimmer blades effectively.
- Put your hedge trimmer in a bench vice so that you can clamp it down and keep it secure when using the power grinder.
- When you use the power grinder on your hedge trimmer’s blades, you must ensure you stick to using the same angle. Take your time and try not to take too much off the blade. Bear in mind your grinder will work a lot faster than a file so you want to use a very light touch with it.
- A good tip is to make sure you hold the surface of your grinding wheel against the surface of each tooth at the same angle as the tooth edge, as E-Replacement Parts explains.
- Sharpen all surfaces of the hedge trimmer’s teeth along the bar. Bear in mind that the grinder wheel will only need to contact the blade for a few seconds to quickly sharpen it, so you don’t have to linger on each spot for too long.
- Do one blade at a time and then move to the other blade. Make sure you’ve done the same amount of sharpening on both.
How To Protect Your Blades After Sharpening Them
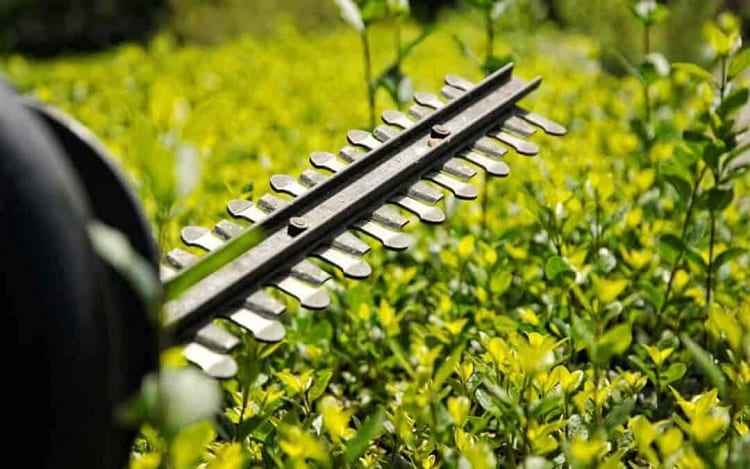
Once you’ve successfully sharpened your hedge trimmer, whether with a file or power grinder, you should always finish off the process with a bit of TLC for your trimmer. This takes the form of wiping down the blades with a dry cloth to remove any excess metal shavings.
Then, to protect your blades against rust, you want to apply some linseed oil to them before storing your hedge trimmer in the garage or shed. Now it’s in great condition and ready for the next time you need it.
How Often Should You Sharpen Your Hedge Trimmer?
While you might think that you should only sharpen your hedge trimmer’s blades when they’ve become dull and are not working to cut branches as well as they used to, this is actually not the best idea.
You should try to sharpen them regularly to keep them in excellent condition and to make it easier for you to sharpen them, requiring less time and effort.
So, try to follow the guideline of sharpening your hedge trimmer after about 40 or so hours of use. That way, they’ll always be in great condition.
Related Questions
If branches get stuck between the teeth of the trimmer’s blades, causing the trimmer to jam, this actually shows that your blades need to be replaced. The top and bottom blades aren’t making contact properly.
Gas hedge trimmers are strong and powerful, but since they tend to use more power and they work faster than other trimmers, this can make their blades become dull quicker.
Conclusion
You want to cut through branches with ease so that you can experience less stress when doing all your gardening tasks, but if your hedge trimmer is blunt then you’re going to add to your stress levels!
In this article, we’ve looked at how you can easily and safely sharpen your hedge trimmer’s blades. Whether you choose to use a file or a power grinder, sharpening your hedge trimmer is easy to do and doesn’t require lots of effort.

