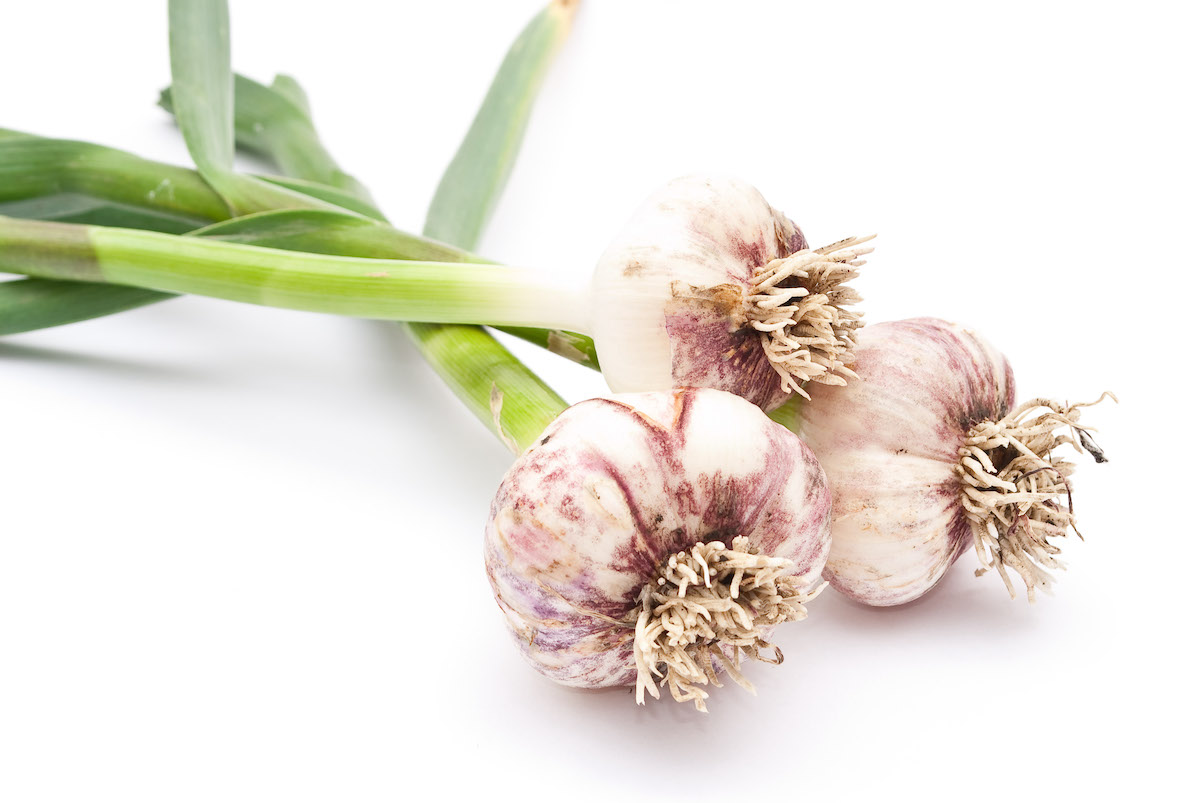
The aroma of garlic adds a special appeal to any dish (and banish vampires – if you have that pesky problem). For the best results, put away those fake flavorants and stop buying old garlic that is nothing but full of disappointment. Our guide shows you how to plant, care for and harvest your own garlic.
Table of Contents
Pinpoint the Right Time
Garlic is a hardy plant that can grow at any time of the year – but only when you make the effort to simulate the perfect conditions indoors. However, when planted during the right seasons, the work is less intensive but will also bring you more success. Indeed, you can look forward to healthier plants and larger bulbs.
Garlic can handle most climates. That being said, the plants struggle in regions where the temperature, rainfall and humidity are consistently high. If you live in a more suitable region, plant your garlic during the late fall or early spring.
Prepare the Soil Beforehand
Whether you decide to grow garlic in your outdoors vegetable garden or add this magical crop to your container plants, the soil checklist remains the same.
- Use clean soil that is free of old debris, roots, and rocks.
- The soil must be well-draining.
- Avoid clay-based soils.
- Add manure or compost to enrich the earth.
How Much Space Do I Need?
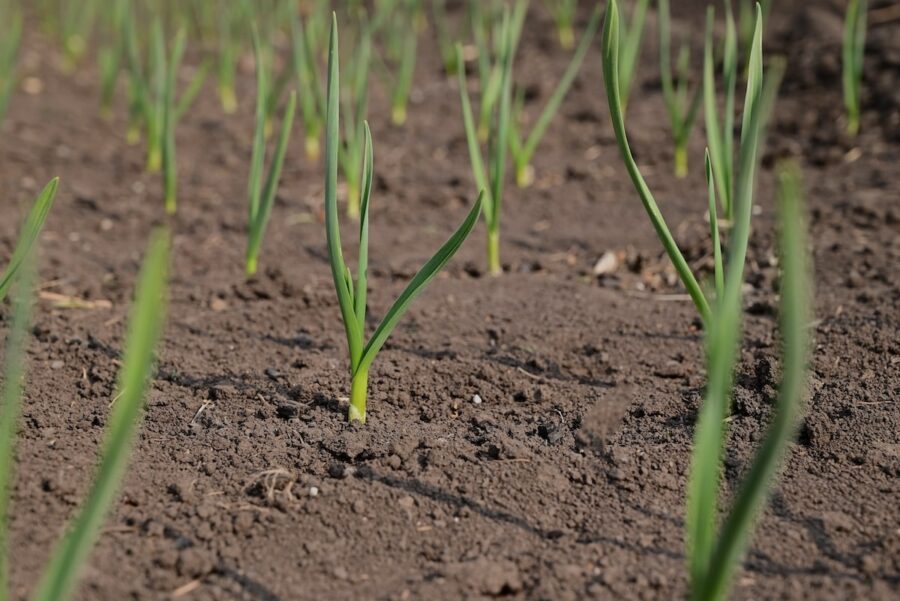
In order to grow properly, each garlic plant needs enough room to develop. If you are raising a container crop, plant one clove per pot. In the garden, your cloves need to be separated by at least the length of your hand.
Always Use Fresh Cloves
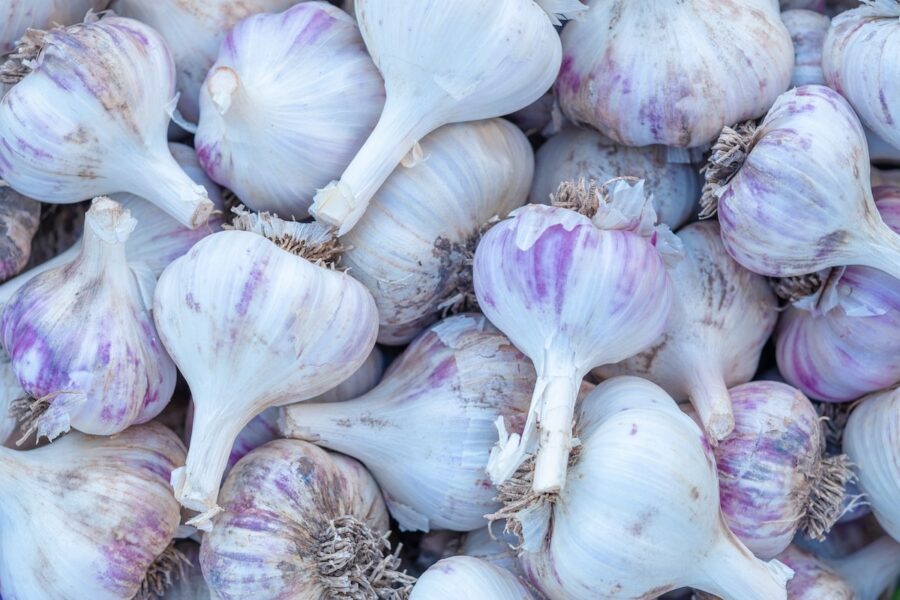
You can source garlic from gardening centres, online catalogues, a neighbor or even your local grocery store. Keep your eyes peeled at that farmer’s market too! But wherever you get your garlic from, it needs to be fresh. Here’s how to check for the right stuff.
- There are no blemishes on the skin of the garlic bulb.
- The skin is not peeling off in large pieces.
- Cloves that feel soft should not be used.
- Choose bulbs with large, hard cloves.
Separate The Cloves
Once you have your garlic bulb or bulbs, it is time to carefully break them apart so that you can plant the cloves. The key word here is “carefully.” If the base of a clove is damaged (where it attaches to the bulb), it won’t grow. You don’t need to do anything special after separating the cloves. They are ready to be planted!
How to Plant Garlic Cloves
The soil is prepared. You have separated a couple of fresh bulbs. Now, it is time to plant the cloves. For each clove, make a hole in the soil about 2 inches (5 cm) deep and place the clove inside with its tip pointing upwards. Cover with a thin layer of soil. In other words, the tip of the clove should be very close to the surface. Finally, cover the soil with a layer of mulch.
How to Care for Your Garlic Plants
Water Sparingly
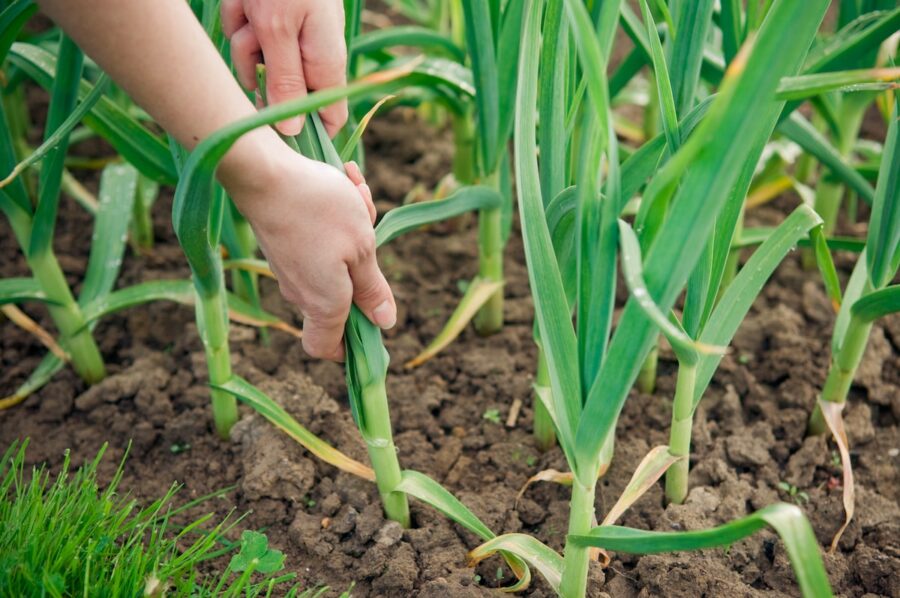
Garlic plants are not fond of wet soil and the bulbs tend to rot when the earth is constantly moist. However, during the early days, when your cloves are still growing roots, they need to be watered once a week. You don’t need to water your outdoor garlic if you get rain at least once a week. When the seasons become hotter, you can reduce the number of times that the plants are watered. This is crucial if you are aiming to grow deeply-flavored garlic bulbs.
Feeding Tips
Your garlic will benefit from a good organic fertilizer. This extra care will provide your crop with all the nutrients needed to grow tasty bulbs. For the best results, aim for a feed that contains sulphate of potash and give your garlic plants a “meal” every five or six weeks.
Pest Problems
The good news is that garlic is mostly resistant to the ailments that bother other herbs and houseplants. One pest might appear, though. Aphids are small, green bugs that love to suck juices from garlic. They commonly attack new leaf shoots and also the flowers. When you spot aphids on your plants, simply wash them off or apply a good, organic pesticide.
When Can I Harvest My Garlic?
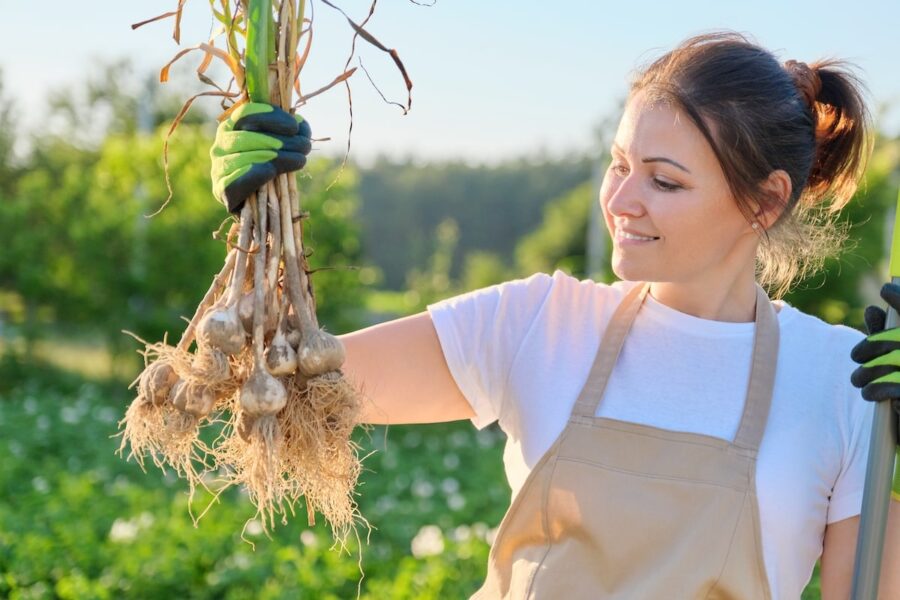
Garlic bulbs tend to mature at different rates but they should be ready at the end of summer and for a certain period into the fall.
There are tell-tale signs that your plant is ready to harvest. The main giveaway is when the leaves or stalks begin to change. Called “scapes,” they will start to dry and turn yellow. Besides this, when you can also feel a bulb near the surface of the soil, the time has come to harvest your garlic.
Try not to wait too long when you notice these signs. When left to its own devices for too long, the bulb’s cloves will separate and basically ruin the garlic for culinary purposes.
Use a fork or a shovel to loosen the bulbs. Be careful not to injure the bulbs. Once the earth is very loose, you can either pull the plant by the scapes or remove the bulbs by hand. You don’t need to wash the garlic. Just wipe the dirt off and store the bulbs until you are ready to use them.
How Do I Store My Garlic?
In order to store garlic successfully, the bulbs need to be cured. This is just a fancy term for hanging the bulbs in a suitable place for a certain amount of time. Follow the tips below to cure your garlic crop the right way!
- Keep the plants whole. In other words, don’t cut the leaves or remove the outer layer of the bulb’s skin.
- Attach a string or rope to the leaves and hang them in a well-ventilated room to cure. Hang each plant apart, not in clusters.
- The best temperature for curing is a constant 80°F (26.7°C).
- Cure the garlic in this manner for two weeks.
- After two weeks, remove the flaky outer layer of skin, cut off the leaves and store the bulbs in a cool, dark and dry place.
FAQ
When the tips turn yellow, it is usually a sign of underwatering – and not that the garlic is ready to harvest. One should wait for the entire plant to dry and yellow before harvesting the bulbs. Another possible reason for underdeveloped bulbs could be the soil quality. Ensure that your garlic is grown in soil that is nutrient-rich or feed your crop with a high-quality fertilizer.
No, garlic will still grow and produce bulbs without a layer of mulch. However, mulch protects your garlic from freezing nights and cold days (something which can hamper its growth). Overall, garlic with mulch produces larger and healthier bulbs.
Yes, the leaves or stalks of a garlic plant can also be used for culinary purposes. They add the same garlic flavor to a dish than cloves. Although the aroma is more subtle, the scapes are popular as a homegrown herb. Be careful not to remove a lot of leaves as this can affect the health of the plant and the development of the bulb.
Elephant garlic is a popular choice. This variety has extra-large cloves.
Yes, but you will need cloves that have already begun to sprout a root. Place them upright in a jar with just enough water to cover the base of the cloves and leave them on a sunny window sill. Change the water when it turns brownish and harvest the sprouts when they are 3 to 7 inches (7.6 to 17.8 cm) tall.
This depends on the variety and growing conditions. But generally, you can expect 6 months to 10 months from planting the cloves to harvesting your own garlic.

