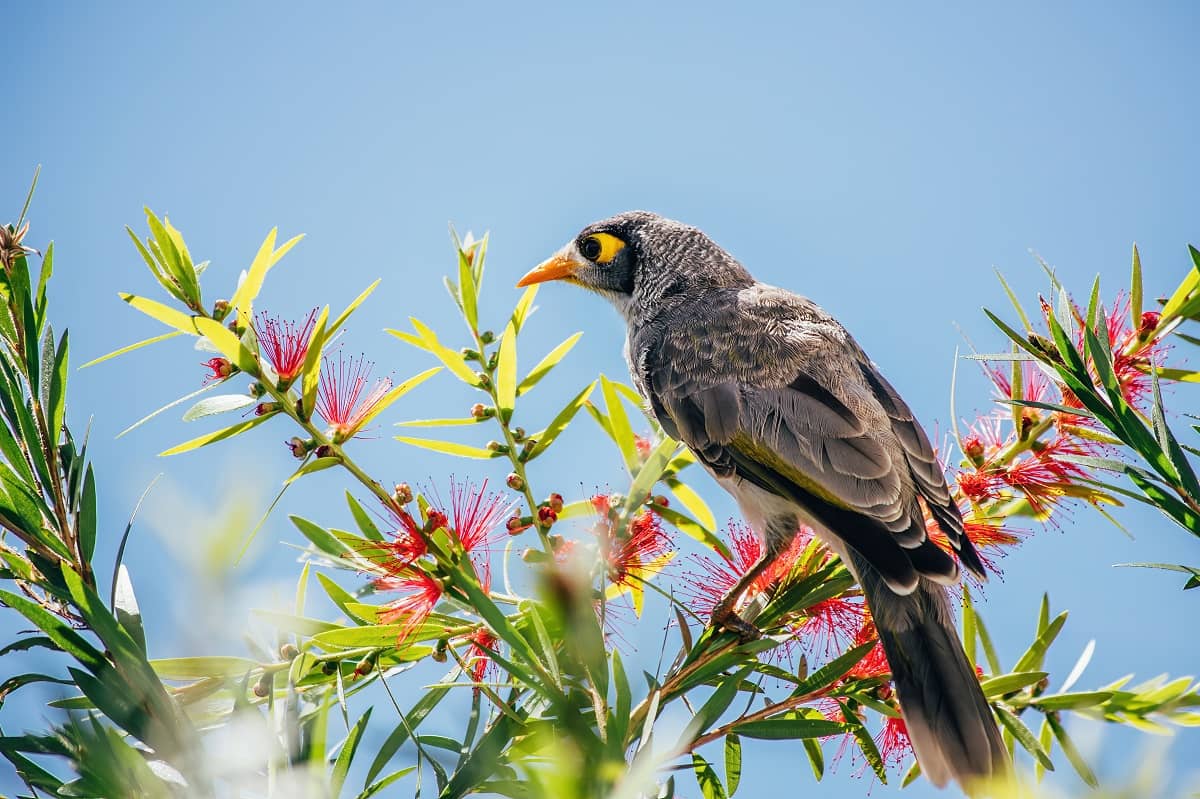
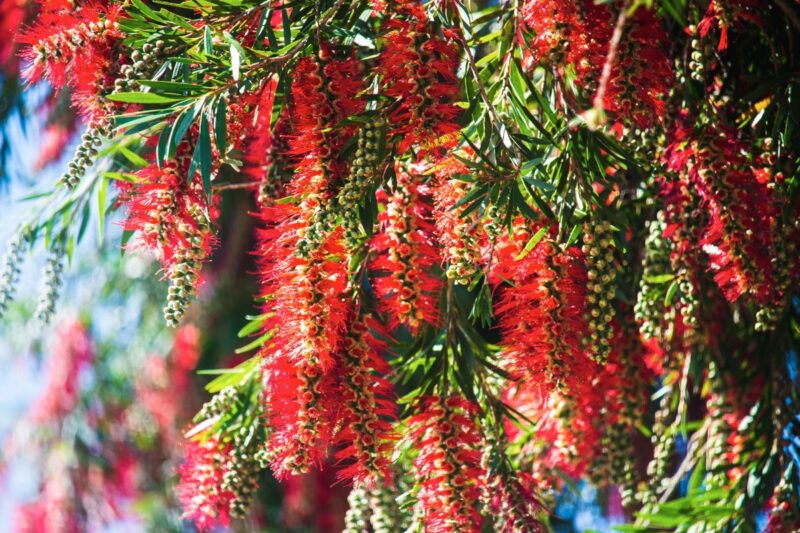
The Bottlebrush (Callistemon) is an evergreen plant native to Australia. The plant gets its name from the spiky and colorful flowers from each stem that closely resemble bottlebrushes.
It has 50 different species; each is distinct in color and growth patterns. All require the same methods of care regardless of species.
The plant can grow up to 18 feet tall and has a variety of multi-colored blooms. The flowers attract hummingbirds and bees due to their nectar. Although the plant is evergreen and easy to grow, there are still a handful of things you should remember while trying to grow your bottlebrush tree.
Bottlebrush plant not flowering? Here are simple care tips for beginners.
Table of Contents
How To Grow a Bottlebrush in Your Backyard
The bottlebrush is quite a resilient plant. It can survive drought-like conditions, salty water, you get the gist. But planting them can be tricky and require a lot of patience.
It’s easier to propagate bottlebrush trees from seeds and cuttings when you already have at least one fully grown tree at home.
Propagating from Seeds
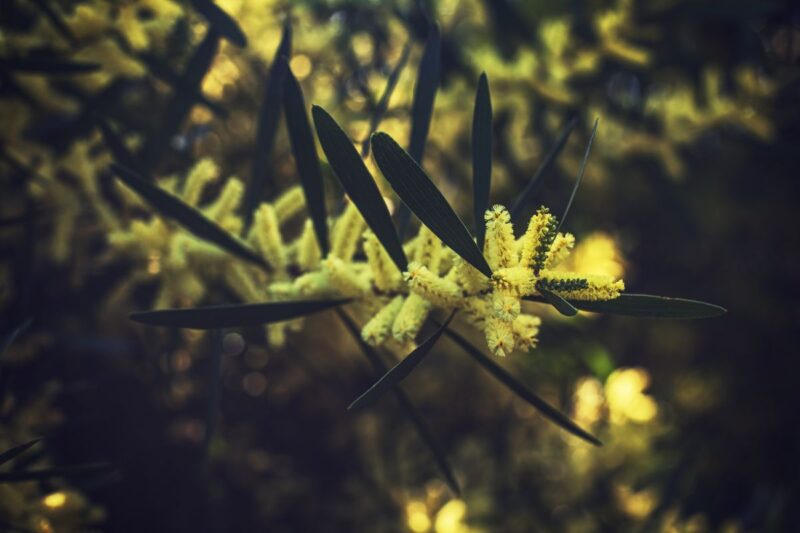
The bottlebrush grows round and woody fruit that contains numerous tiny seeds. The fruit grows from every flower blossom. Carefully remove the fruit from the blossoms and place them in a plastic bag.
As the fruit is stored in a warm and dry environment, it will eventually release its seeds. Sow the seeds into the planting mix during springtime for best results!
Propagating from Cuttings
Take roughly 6-inch cuttings from semi-mature wood with clean and sterilized pruners. The best time to do this is during summer. Remove any leaves or flowers still sticking to the lower end of the cuttings. Stick the cutting into rooting hormone powder, then into the growing medium.
The cuttings take stronger roots when allowed to grow inside a plastic bag, it helps retain moisture. In about 10 weeks the roots will start to hold and you can remove the bag at this point.
5 Things Your Bottlebrush Plant Needs
The bottlebrush doesn’t need much, just the right things at the right time.
Sunlight

The bottlebrush plant requires at least 6 hours of sunlight to grow to its maximum potential. Before planting, scout a nice patch of soil that receives sunlight all year round. It shouldn’t be shadowed by a hedge or overgrown plant.
If you live in a colder climate that receives snow during the winters, plant the bottlebrush in a container or pot. You can move your plant around your yard according to the sunlight each area receives. And when the snow comes rolling down, take your plant indoors to protect it from the cold.
Water
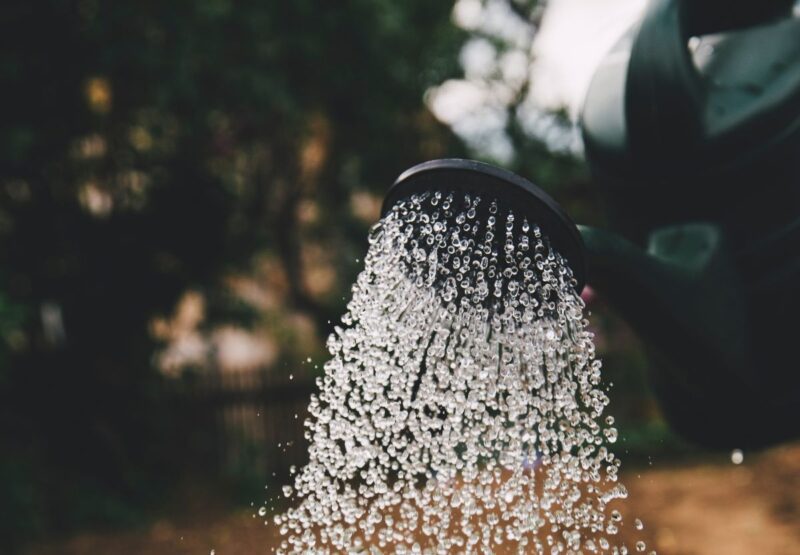
The bottlebrush is drought-resistant so it can survive a few days without or little water. That doesn’t mean you should neglect it! Regularly water the plant when it’s young. As it grows, you can switch your watering schedule to every week.
Your plant needs to develop a good root system for strength; you can enable that by watering deeply each time. Consider using a watering hose, it’s cost-efficient and saves up water!
Soil

The bottlebrush thrives in slightly alkaline soil, but it’s not a picky plant when it comes to soil type. The bottlebrush grows equally well in sandy soil and clay soil. To give the best care to your plant, ensure the soil pH is between 5.5 and 7.
It prefers well-drained soil; soggy soil can lead to fungal infections. Nutrient-rich soil is beneficial to the growth of your bottlebrush. You can enhance the soil by adding compost. Before doing that, remove any mulch from around the plant. Place it over dry soil to prevent water evaporation.
Working with sandy soil can be tricky; you want the root to permeate for better grip. Add perlite over sandy soil and some mulch to hold in the moisture.
Fertilizer
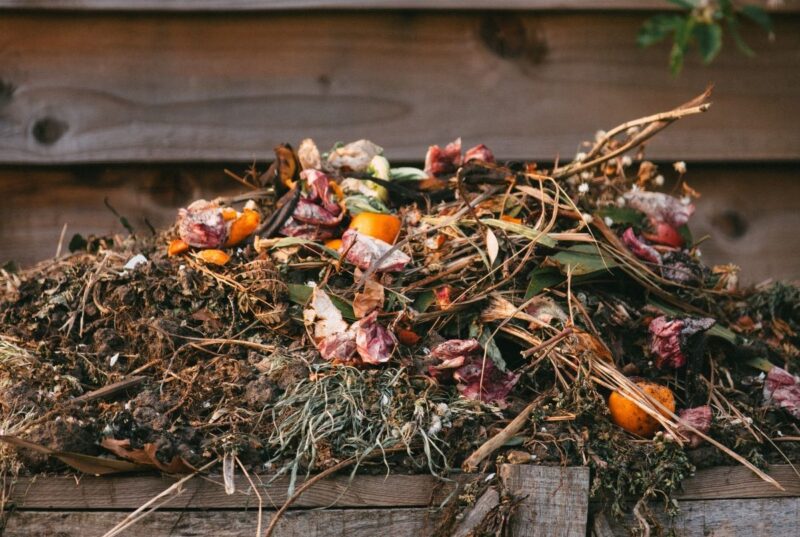
Take your plant care the extra mile by giving the best fertilizer. What the soil can’t provide in terms of nutrients, the fertilizer definitely will. Give the first round to a young bottlebrush during early or late spring. The plant won’t need any fertilizer during the winter as no growth takes place during this time.
A fertilizer with high phosphorus will grow brighter flowers. If you’re still not satisfied with the flowers, give the plant liquid fertilizer or bone meal for additional supplements. Follow instructions on the fertilizer bag if you’re unsure about how much to give to the bottlebrush.
Pruning
Prune your bottlebrush regularly to train its growth. After every flowering, prune the young plants by snipping away the old flowers. Pruning before spring will ensure a healthier bloom of flowers.
You can train your bottlebrush to grow into a multi-stem shrub or a tree with the right pruning technique. A tree will need its drooping branches to be cut regularly, as they obstruct passageways. When pruned the right way, it will grow more flowers. Always remove suckers from the bottlebrush plant.
It’s best to remove any damaged or dead stems from the plant as they have completed their life cycle. Brown inner stems can be reversed by removing the outer parts. This will ensure sunlight reaches the innermost plant as well.
How To Save a Bottlebrush Tree
Is your bottlebrush not in the best of health? It could be due to the following culprits:
Pests
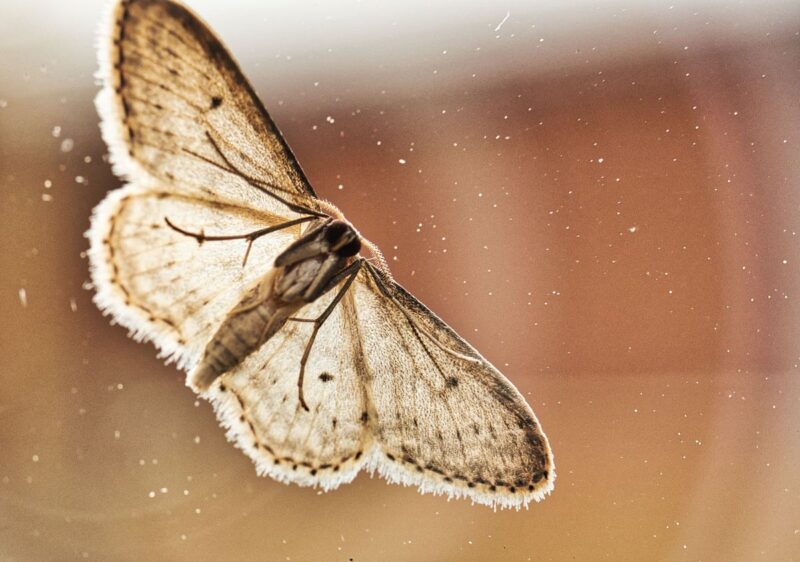
Though the bottlebrush is immune to most pests, insects like sawfly larvae, scale, and web moths render it defenseless. The pests harm the plant by eating away the foliage. The web moth is the most harmful as it forms cocoons and especially affects younger plants.
Keep an eye on young bottlebrushes, if you see any leaves webbed together into a cocoon, immediately remove and dispose of them. This will prevent any larvae from spreading. Take care of your plant by applying neem oil or azadirachtin spray.
Diseases
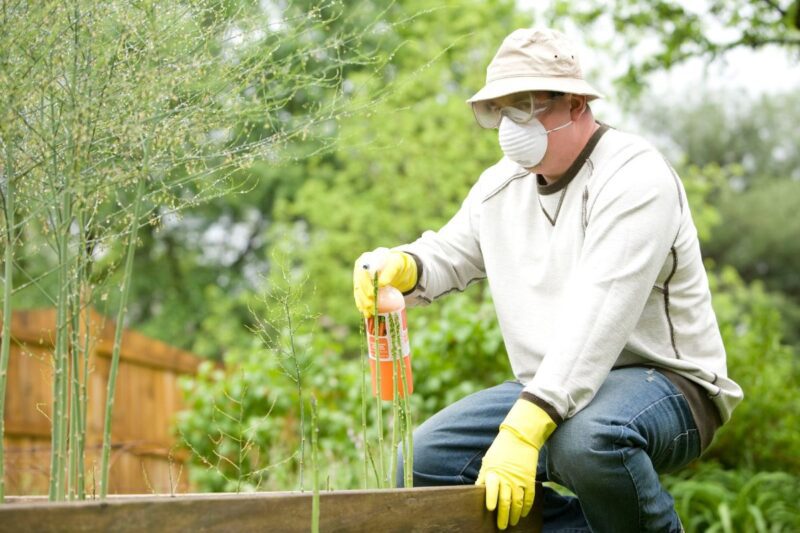
Many diseases can affect the bottlebrush but the main culprit behind most of them is overwatering. Root rot, powdery mildew, and leaf spots are all fungal growths that develop due to damp soil.
A bottlebrush suffering from fungal disease will lose its chlorophyll (its greenness) and eventually die. The best cure to this is withholding any water.
Only water the plant when it needs it. If the soil is still damp then avoid watering. The plant can be saved by pruning the damaged parts, make sure to sterilize the shears to prevent cross-contamination.
Watering foliage can lead to leaf spots, which is limited to a couple of leaves but won’t cause much harm. Prevent leaf spots from spreading by making sure the plant has enough airflow to let the leaves dry.

